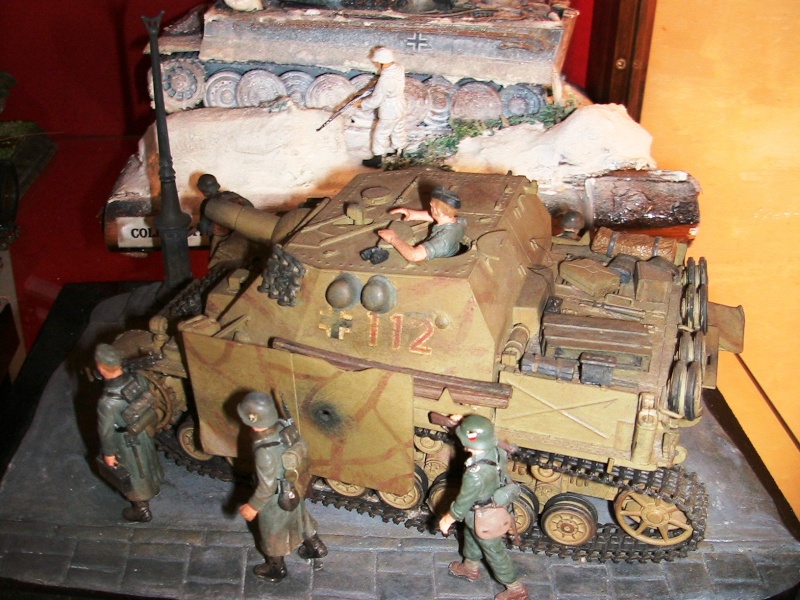
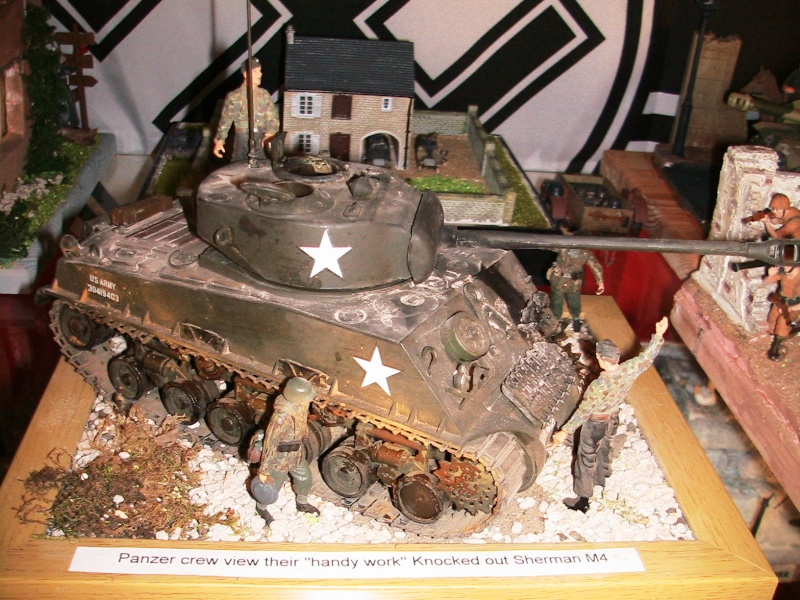
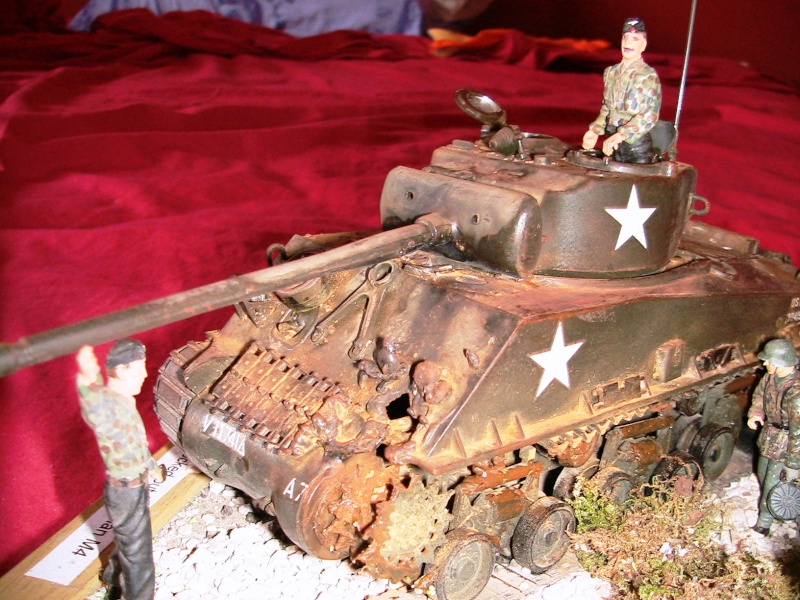
The ssm gozo is planning a small town exhibition and we need to exhibit the best but we need suggestions from the best (in this case YOU).
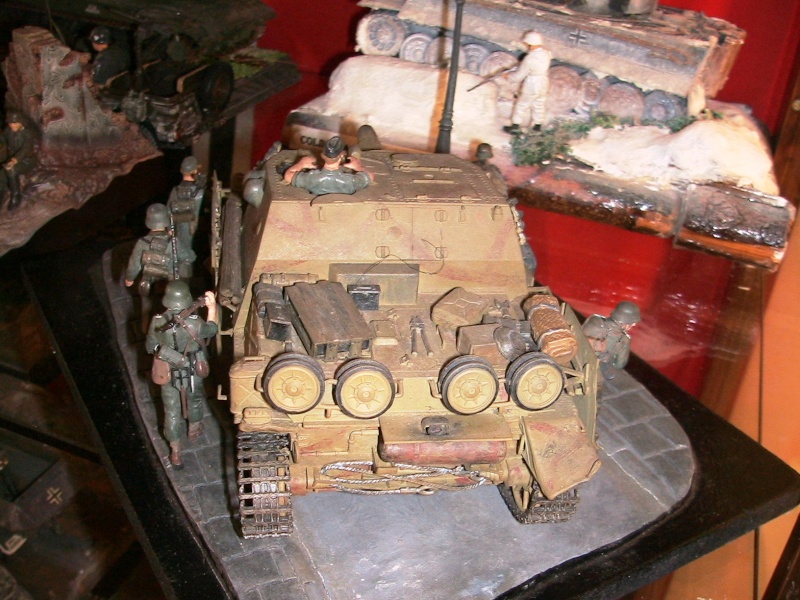
2 posters
I need help to come close to perfection with those too.
iCocker- Best in Show
- Posts : 3172
Join date : 2009-07-21
Age : 50
Location : Marsascala, Malta
Welcome onboard SSM GOZO!!!!!
Balance is good Daid, I am noticing you are using pastels. Bravo.
I prefer the Brumbar, the other one need something to show it is a KO tank IMO.
Will await the others to follow up ...
Ivan
Balance is good Daid, I am noticing you are using pastels. Bravo.
I prefer the Brumbar, the other one need something to show it is a KO tank IMO.
Will await the others to follow up ...
Ivan
Guest- Guest
Example what??? the turret? i pull it out as it looks like dead?
Guest- Guest
Hi ivan does now look better as knocked down pls??
iCocker- Best in Show
- Posts : 3172
Join date : 2009-07-21
Age : 50
Location : Marsascala, Malta
I would have rather put the name plate on the other side as from that angle your work shows more a KO tank. KO tanks need more attention to weathering, sherman had a tendancy to burnt out, infact they were nicknamed Ronsons [Dottore might jump on us but reality is reality]. If you have a burn out, then most of the rubber would be burnt and also much of the paintwork, the hull would start to oxidise quite fast and in a mtter of days from an olive drap tank you'll end up with an orange tank!
Study the work of MIG and Per Olav Lund and you'll understand more. If you join this forum [a must be for AFV modellers] check out the Rusty KO/or abondoned section, there are some interesting aproaches to weathering, the hairspray and salt technique is explained very simple ... enjoy, http://www.migproductionsforums.com/phpBB3/
Ivan
Guest- Guest
check out this!! http://modelshipwrights.kitmaker.net/modules.php?op=modload&name=Sections&file=index&req=viewarticle&artid=1307
Guest- Guest
Tried more pigments better?
Dottore- Gold
- Posts : 1388
Join date : 2009-07-21
Age : 46
Location : Tarxien, Malta
- Post n°8
Basics....
Dear David...please dont get the wrong message from our pointers...your dioramas show very good ideas and composition, but I noticed some basics which need fine tuning....
1) Careful to make sure you remove all mould lines from parts. For example the spare wheel on the front glacis still has the prominent mould line running around the centre rubber surface. Mould lines are the first way a viewer realises a model is...a model...so careful and no short cuts here I'm afraid!
2) Decals are heavily silvered...I hate decals myself..infact use dry rub ons or stencils myself but IF you have to use decals there are some essential steps which you need to do. ALWAYS ALWAYS ALWAYS lay the decal on a good solid gloss surface. This is essential to cover the carrier film...and use a setting solution. Either our own SSM (ie Alex) concoction or Mr. Setter/softer, or even Micro Sol/set. They melt the carrier film leaving just the decal in place. AFter that you can Matt the gloss and youre left with a decal that looks 'painted' on!
I noticed your model lacks depth. This can be achieved with some oil washes....Grab hold of MIG FAQ book and start using the pin washes. They really add A LOT to your model.
Just a few pointers.
You have a good start mate but I wouldnt go back trying to rcover this diorama. Just put it aside and do all the hints we give you on the next model. You'll be able to compare and see the great differences some pointers will give you. As Ivan said...dioramas are complex and time consuming. I sugggest you get a GOOD base model AFV like the recent tamiya or DML and just concentrate on the AFV Out Of The Box....
Keep at it it shows you have a passion for the hobby!
Dottore